Retropie Gaming Package Bundle


Retropie Gaming Package Bundle
Pre-configured for popular titles See below for more details
Brand new, Genuine & model Raspberry Pi 3 Model B - Quad Core,1GB RAM, 4 USB ports with Australian Warranty
Raspberry Pi 3 Case (Black or clear - Chosen at random)
16GB MicroSD customised with RetroPie 3.6 Emulation Station
1080p HDMI Cable - 1m
2500mA 5.0V USB Power Supply with Australian Plug
1 x SNES USB Controllers
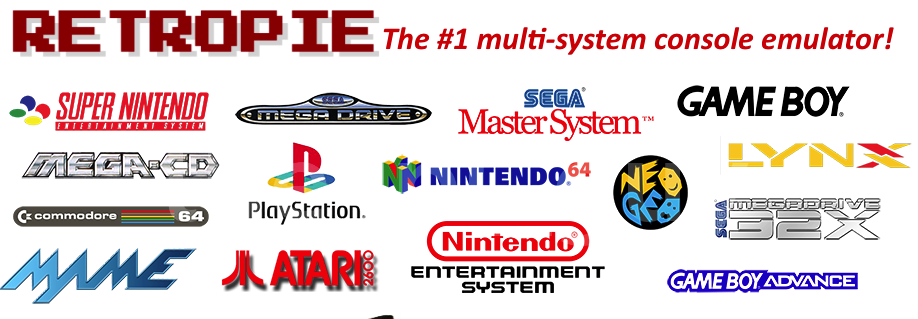
Pre-installed emulators : Nintendo NES, SNES, Gameboy Advance, N64 (Experimental), Sega Master System, Mega Drive, Sega CD, Sega 32X, Game Gear, Playstation 1, Atari 2600, NeoGeo, MAME & more
Package includes:
- Raspberry Pi Mod3
- Case enclosure Black
- 2.5 Amp power supply
- 16 MB Ultra SANDISK SD card with Retropie 3 Emulation station and some shareware games preinstalled
- 1 x SNES game pad controller.
- HDMI 1meter cable.
- Optional - 8GB USB stick preconfigured to load ROM games
NB: Games and ROMS that are copyright are NOT supplied or preinstalled. You will need to install these yourself.
Information regarding roms/games
As to comply with Australian law we do not sell or provide illegal games/roms with this device.
We have however done the hardest part for you by installing and configuring RetroPie, complete with:
- Emulator defaults and optimisations
- Controller configuration for 1, 2 and more players
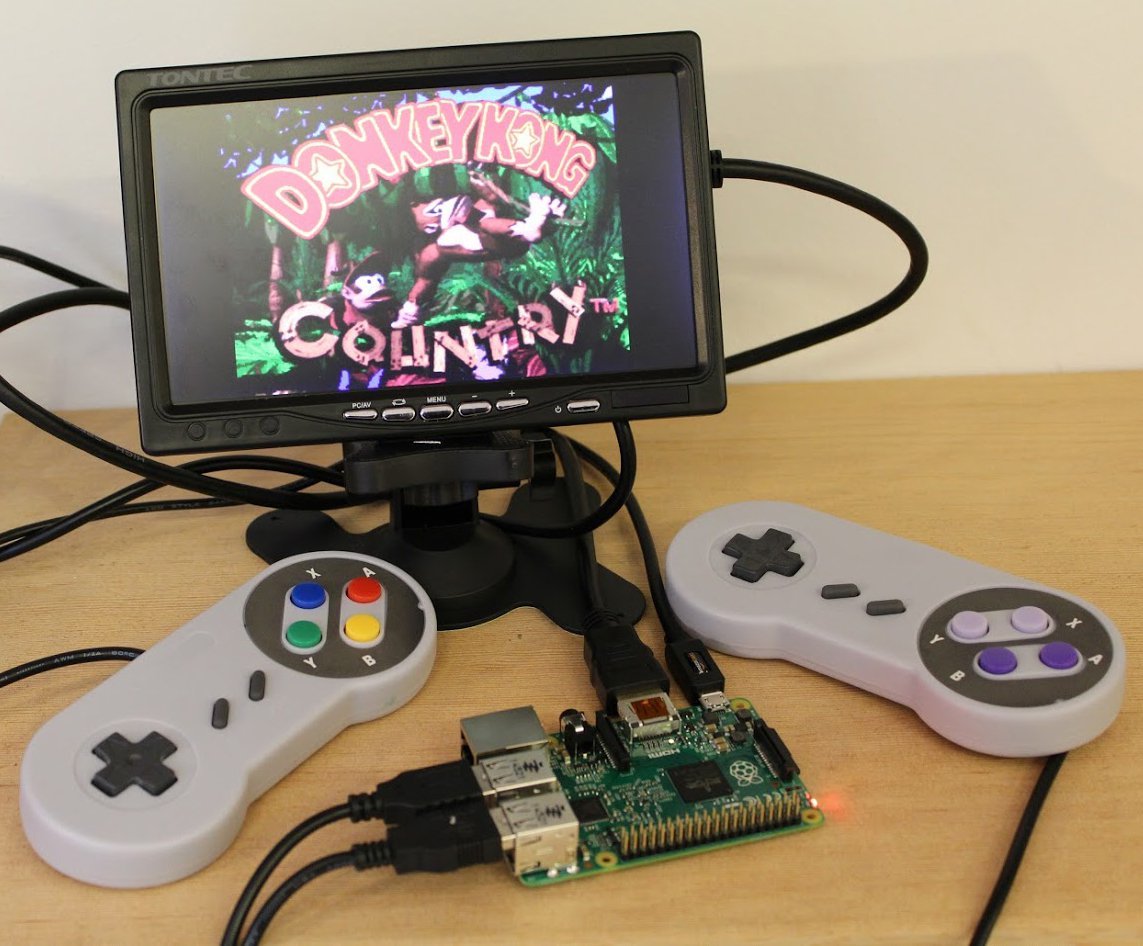
Our RetroPie Gaming Kit for SNES rocket launches you with all the bits and pieces needed to revisit your favourite retro SNES games. We've done all the hard work with setting up RetroPie on the included microSD card, however, you'll need to install your game ROMs / backups which is well covered on YouTube.
The Raspberry Pi 3 has a full HDMI output which means you can easily connect this gaming kit to any modern TV or screen. Checkout our tutorials for button mapping and other setup tips!
If you want to install games you can download the rompie collection which is fully compatible and extremely easy to add.
See below video for more insight to the setting up and working with the Retropie system.
This video is only a demo and not the same system as is supplied.
Video gaming has evolved tremendously over the last decade, console games produce near real-life graphics, and playing with friends across the globe is easier than sending a text message. This is all well and good, but there are those of us that twinge with nostalgia when we see a gaming controller, wishing for the old-school classic that we spent hours on, perfecting, mastering, cracking high sores.
If you're like us, sometimes longing for the local multiplayer experience that only 007 Goldeneye can produce, or the thrill of achievement after unlocking a new level on Super Mario Bros, then you’re in luck. As technology keeps advancing, so do we use it as a time machine, to revisit the vintage classics, and with the Raspberry Pi platform being as popular as it is, it’s incredibly easy to turn your Raspberry Pi board into a vintage gaming haven using RetroPie.
WHAT IS RETROPIE?
RetroPie is an operating system designed specifically to run on a Raspberry Pi, much like Raspbian, Windows 10 IoT Core, OpenELEC, or many others. In fact RetroPie is built on top of Raspbian, and supports thousands of games across many different emulators. What is an emulator you may ask? An emulator is a program which creates a virtual version of an older hardware system. That emulator can be used to run ROMs, which are the game packages that can be run on emulators.
The Raspberry Pi is the hardware which runs the RetroPie operating system, RetroPie runs the emulators for different systems, and the emulator runs the ROMs which are the games.
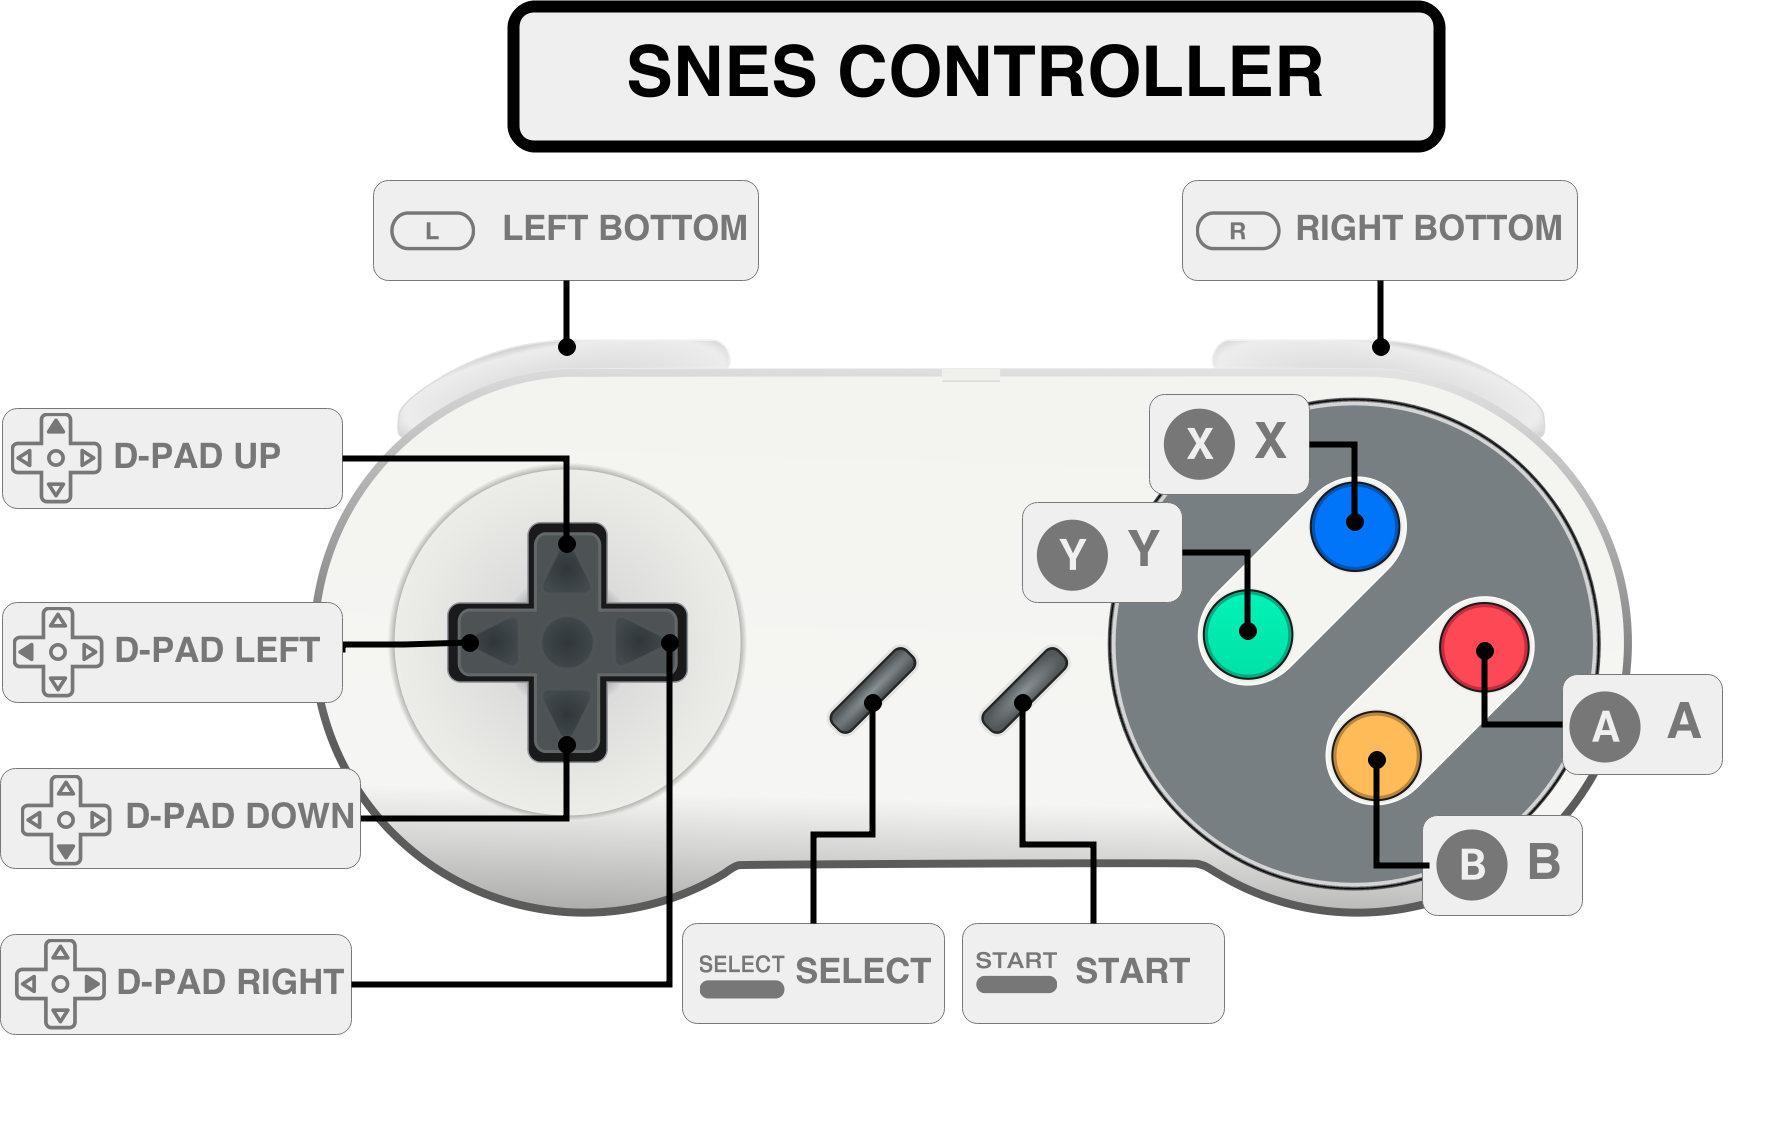
Whilst RetroPie can host many different emulators, to recreate the classic experience, you will still need a gamepad to control the game. Different systems used different control combinations and layouts which can make it tricky to play SNES game, with a Nintendo 64, for example.
SETTING UP RETROPIE
Now that you have a MicroSD card with RetroPie on it, insert it into your Pi, connect your display, keyboard mouse etc. and power it up. After a boot check, the RetroPie logo should full screen, run a quick configuration, launch into the Emulation Station welcome screen, and then load into the controller mapping screen:
RetroPie controller mapping screen
CONTROLLER MAPPING
Now when prompted to configure your gamepad, go ahead and plug in your USB controller of choice, be it a keyboard, gamepad, or any other USB controller. RetroPie supports so many different gamepads, that there’s usually a handful of buttons that you don’t have on your gamepad. For these, just hold any button down, and it will skip to the next button.
See - Configuring USB controllers with Retroarch
Now your Pi should enter into the Emulation Station home screen which shows the available applications: emulators and RetroPie menu.
In the RetroPie menu, go ahead and setup the various features you want to use. We suggest setting up Wi-Fi, Bluetooth (if you have a Bluetooth keyboard), the audio output options, and even chose a snazzy splash screen. Don’t worry about any of the other settings right now, there’s no need to play around with them unless you know what you’re doing
Congratulations! RetroPie is now up and running, with a sample selection of games from various systems. But you didn’t come here to play a ‘handful of games’, you came to play the Classics! So let’s look at getting different emulators setup on the RetroPie
INSTALLING ROMS

Whilst RetroPie supports hundreds of emulators, there are only a couple available when you first load up RetroPie. This is because it will only show emulators that have ROMs available.
So you’ll need to download some to use. For help finding ROMs simply search on the internet for free listings. Bear in mind that you don’t need to download the emulators, just the ROMs:
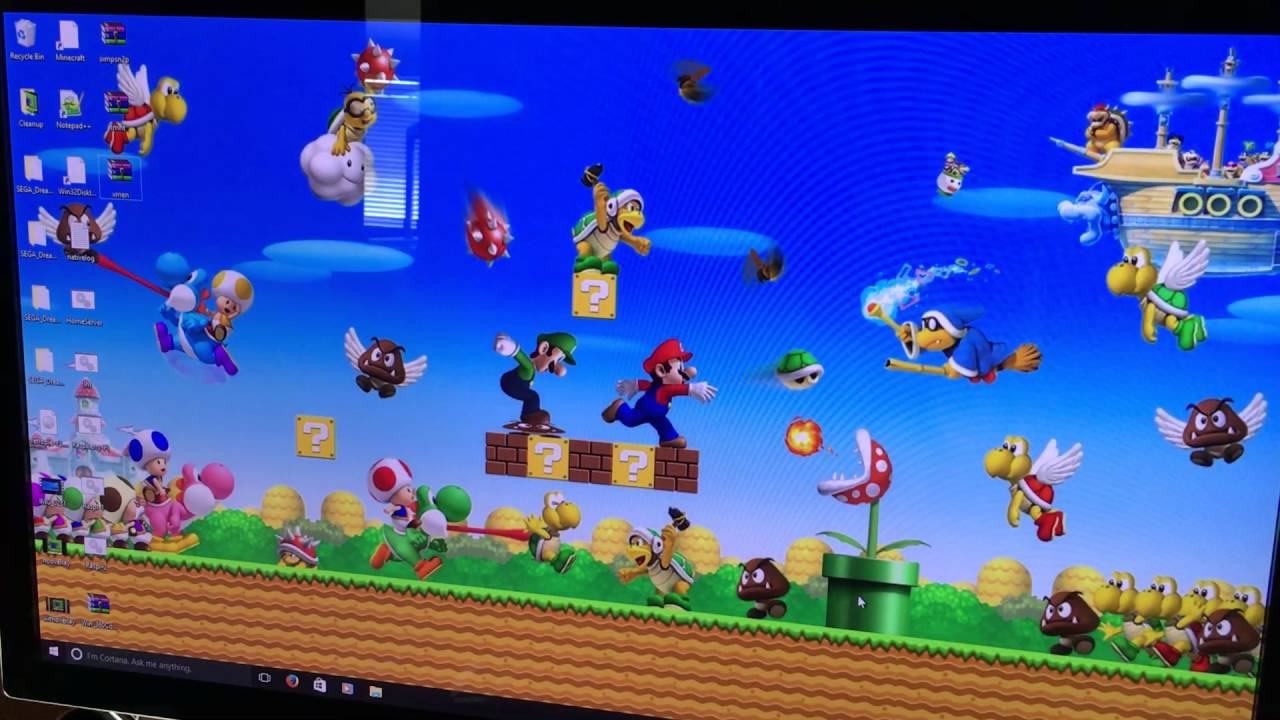
Whilst it is possible to use the built in file transfer system in RetroPie, we’ve found the easiest, most reliable way is to use a spare USB stick to transfer them from your computer, onto your Raspberry Pi.
Our optional USB stick will be preconfigured with all the necessary emulator directories for you to just simply copy the ROM to the correct directory and then insert it into the Raspberry Pi and Retropie will coppy the ROM to the correct place on the SD card.
To transfer ROMs via USB to your Raspberry Pi:
Insert your USB into your computer and make sure it is formatted to FAT32.
Create a folder in the top level of the USB called ‘retropie’.
Plug your USB into the Raspberry Pi and wait a few seconds until the green LED on the Pi stops steadily blinking.
Unplug the USB and plug it back into the computer. The Raspberry Pi has now created the file structures necessary to copy ROMs from the USB.
On your computer, navigate to retropie -> roms -> snes (or whatever system you downloaded ROMs for), and copy your ROMs into the folder
Unplug the USB and plug it back into the Raspberry Pi, wait a few seconds again.
Reboot your Raspberry Pi, and you should now see the SNES emulator in RetroPie, and all the ROMs you downloaded for it. You can now unplug the USB, and set it aside for when you want to copy more ROMs across.
*Note that some ROMs may appear in the top level of that emulator folder, others may be in another folder.*
Woo! Hoo!
You’ve now got your very own vintage gaming console running on your Raspberry Pi, with authentic USB controllers to go with it. So load up your favourite game, invite some friends round, and get gaming!
Express Checkout
![]()
includes GST
Price includes GST
- Views: 30255
- Product Code: Retropie Gaming Package Bundle
- Availability: Out Of Stock
- AUD $124.90

8GB USB Stick for Reropie ROMS
8GB USB Stick setup and preconfigured with all the necessary emulator directories for you to just si..
AUD $11.00

SNES Gaming Controller USB
SNES Gaming Controller USBIdealy suited for Retropie NB: Colors of controller depend..
AUD $9.95

Video Game Console Entertainment System with 500 builtin games
Mini Video Game Console Entertainment System Classic 500 Built-in Games 2 ControllersThis is a ..
AUD $52.00